Sharpening a pencil and guiding the pointed lead across a paper surface. Feeling the tooth of the paper grab the lead, creating a line. Touching clay and feeling its texture between your fingers as form is born from shapelessness. Mixing colors on a palette and dipping your brush to pick up the new shade. Watching the paint glaze across the canvas as each stroke is made. These tangible nuances of traditional art are somewhat lost in the digital realm as we look at a screen of pixels and click a mouse.
The quest for digital tools that are closer to emulating traditional art mediums is an ongoing one. But whereas these nuances are lost many other capabilities exist, many that are almost unimaginable.
They exist because of the steps that have been taken by artists and software developers together to make the tools better for the digital artist. Right Hemisphere is one of those software developers that has taken another step forward in that quest. Deep Paint is that step.
In many ways Deep Paint seems like just a plug-in for Photoshop. After diving deeper and uncovering the many capabilities, you find that it is a full-out paint system unto itself. One Deep Paint advertising tag line is, “If you know Photoshop you already know Deep Paint,” which I read and thought to myself in a skeptical Doctor Evil sort of voice “riiiiiiiiiiightä.”
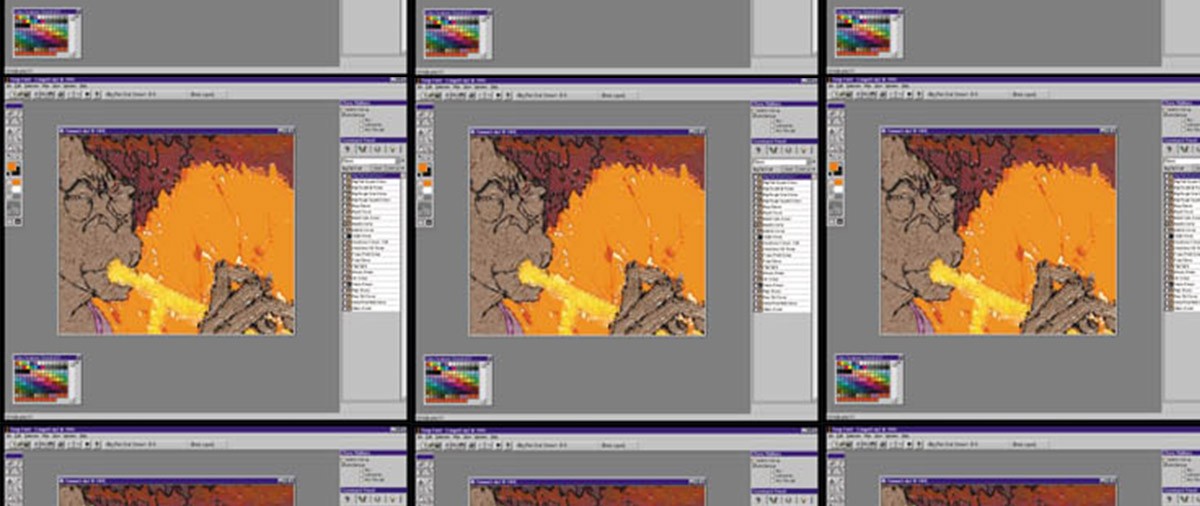
But there is truth to that tag line. As an addition to the filter pull-down menu, Deep Paint reveals an interface layout that replicates Photoshop once launched. The hot keys, menus and layering system all retain the Photoshop ambiance and so navigation within Deep Paint is completely familiar. That feature alone will win over artists because the learning is made easy. Usually as a CG artist you learn a particular plug-in as it is needed for a particular project. So a quickly learned, easy to use plug-in will only be more willingly received.
What is different about this plug-in is the plug-in manager that handles the cross breeding between Photoshop and Deep Paint. While in Photoshop and working on an image, the Deep Paint plug-in manager will pop up first when the filter is selected. This will prompt you to be in either send or receive mode. In choosing send mode and then clicking the send button Deep Paint itself then opens up. There you will find your raw image waiting for you to unleash your painterly desires.
The feature that stands out first and foremost is the abundant amount of pre-set paint styles to choose from. These presets help you to simulate the true essence of paints; that “deep” texture that comes out of painted strokes. They are conveniently located under the presets tab on the right-hand command panel. The vast list contained here is where you can choose and create with the look and feel of oils, watercolors, pastels, charcoals, pencils, felt pens, acrylics, crayons and any styles that you can create and save as your own presets.
Also contained on the command panel are brush and paint settings, layers and light settings. The brush and paint settings are for the most part, self-explanatory. A little exploration here produces nice results that compliment the presets. The layers tab is set up just like Photoshop and has a few new features like setting the layer you desire as the clone source. With the clone source layer set, a fine group of “cloners” await you under the presets.
The last tab called,”light settings” is where you can designate the direction of the light source for your bump and shininess. This is one area where the realistic gleam and textured feel of the paint can be controlled.
Another area where this can be adjusted would be the bump and shininess buttons that lie on the left side tools palette. There are three buttons that exist, the third being color. All three can be turned on or off at any time individually. This gives the capability to paint with color that has a bump texture and shine to it. If the color is turned off you can paint with height and shine only, or do the reverse. If bump is turned on there is also a choice of canvas imagery for the bump to pick up.
Another feature that is helpful while working in Deep Paint is the taskbar that exists at the top of the interface. This lets you know what preset you are working with and what layer you are on.
These are only some of Deep Paint’s features that lie at your fingertips. There are many others that have a life of their own: features such as the airbrush tool that behaves like a real airbrush. This tool works well with a Wacom Intuos airbrush stylus, giving control over pressure, scale and ink-flow.
In addition, there is the image spray tool that acts much like the nozzle in Painter, basically allowing you to paint with a designated image. And the use of existing Photoshop filters that can be applied to color, bump effect or shininess effect separately or simultaneously. Plus, when you are all done a quick export to Photoshop and fetch from the plug-in manager brings your image back into full Photoshop manipulation.
For this article alone there are too many features that exist to list and write about, I have only touched on the basics. With a quick demo download, anyone can be up and running with Deep Paint and making use of its numerous attributes.
For sure, Deep Paint is a step in the right direction on the path that artists walk in their quest for more visceral tools. Traditional art background or not, as a digital artist you know the quest. Any tools that help get you further along the path are good ones. I believe Deep Paint is one of them.
Derron Ross is a lead Animator at Max Ink CafÈ, LLC.